
Facebook. Does the word make you shudder?
I mean, it’s easy for personal use but Facebook for business it’s a whole other ball game, right? I mean there’s so much confusion.
What do you post to attract clients? How do people use it to build their businesses?
A lot of businesses say they couldn’t do without it, but lots of people also say they’ve tried it and it doesn’t work. That it’s a waste of time and money.
And it’s true. It can be a monumental waste of time and money.
But not if you know how to use it properly. You just need to understand how to harness the power of the platform to bring in leads, create contacts and build your business.
It’s actually pretty simple. The hardest part is getting good information from people who know what they’re doing.
We’ve seen lots of real estate agents use it well, and lots that don’t. So, we want to share what we know works.
Because you can bring in business with Facebook. And you don’t have to spend a fortune on advertising.
Nor do you have to spend hours every week online. You just need to know a few simple, effective strategies.
How to Look Like a Rockstar Online
So you can look like a Rockstar online you need to lay the right foundations. You need to make sure you have a professional presence with consistent branding.
We’re going to make this easy for you. We know you’re smart but you’re also short on time.
So, we suggest you read this guide through from start to finish so you understand the overall plan. Then use the Action Plan at the end to complete each step for your own business.
Know Your Ideal Customer
It’s critical you know your ideal customer, and this is where many people go wrong. They think they’re selling to anyone with a wallet and heartbeat.
The problem with that is that you try to appeal to everyone, and you don’t really connect with anyone.
Let’s look at morning television shows as an example. The Morning Show, Breakfast Television, Good Morning America.
These shows are all trying to appeal to as many people as possible. And what happens? They have no die-hard fans.
If one of those shows was taken off the air, no one would really care.
But when you look at a show like Mythbusters or Top Gear it’s another story. Top Gear is aimed at men who love cars, but it has a loyal following and they’re not only car-mad men.
In fact, when Jeremy Clarkson was dismissed from the show both of his co-hosts also resigned. But they’d gained such a loyal following that Amazon Prime picked them up and created The Grand Tour.
That’s why you need to know your niche. You need to create that sort of loyal following by standing for something unique and speaking to your distinct audience.
When you aim your marketing at a specific group of people you draw in others outside your niche. But you also create a very specific marketing message, that’s exclusive to you.
If you haven’t already created your ideal customer avatar, you can download two free worksheets from Digital Marketer, here:
Create Your Business Page
You need to create a business page even if you’re operating under your own name. This is because it’s against the Facebook Terms to use your profile to represent something other than yourself (such as your business), and you could permanently lose access to your account if you don’t convert it to a Page.
When you have a business page you can also create ads, boost posts and give other people access to edit your page.
Here’s how to create your page, which is best done on a desktop computer or laptop rather than a mobile device.
You’ll notice a little arrow at the top left-hand side of the screen, near your name. Drop that down and select ‘Create Page’.
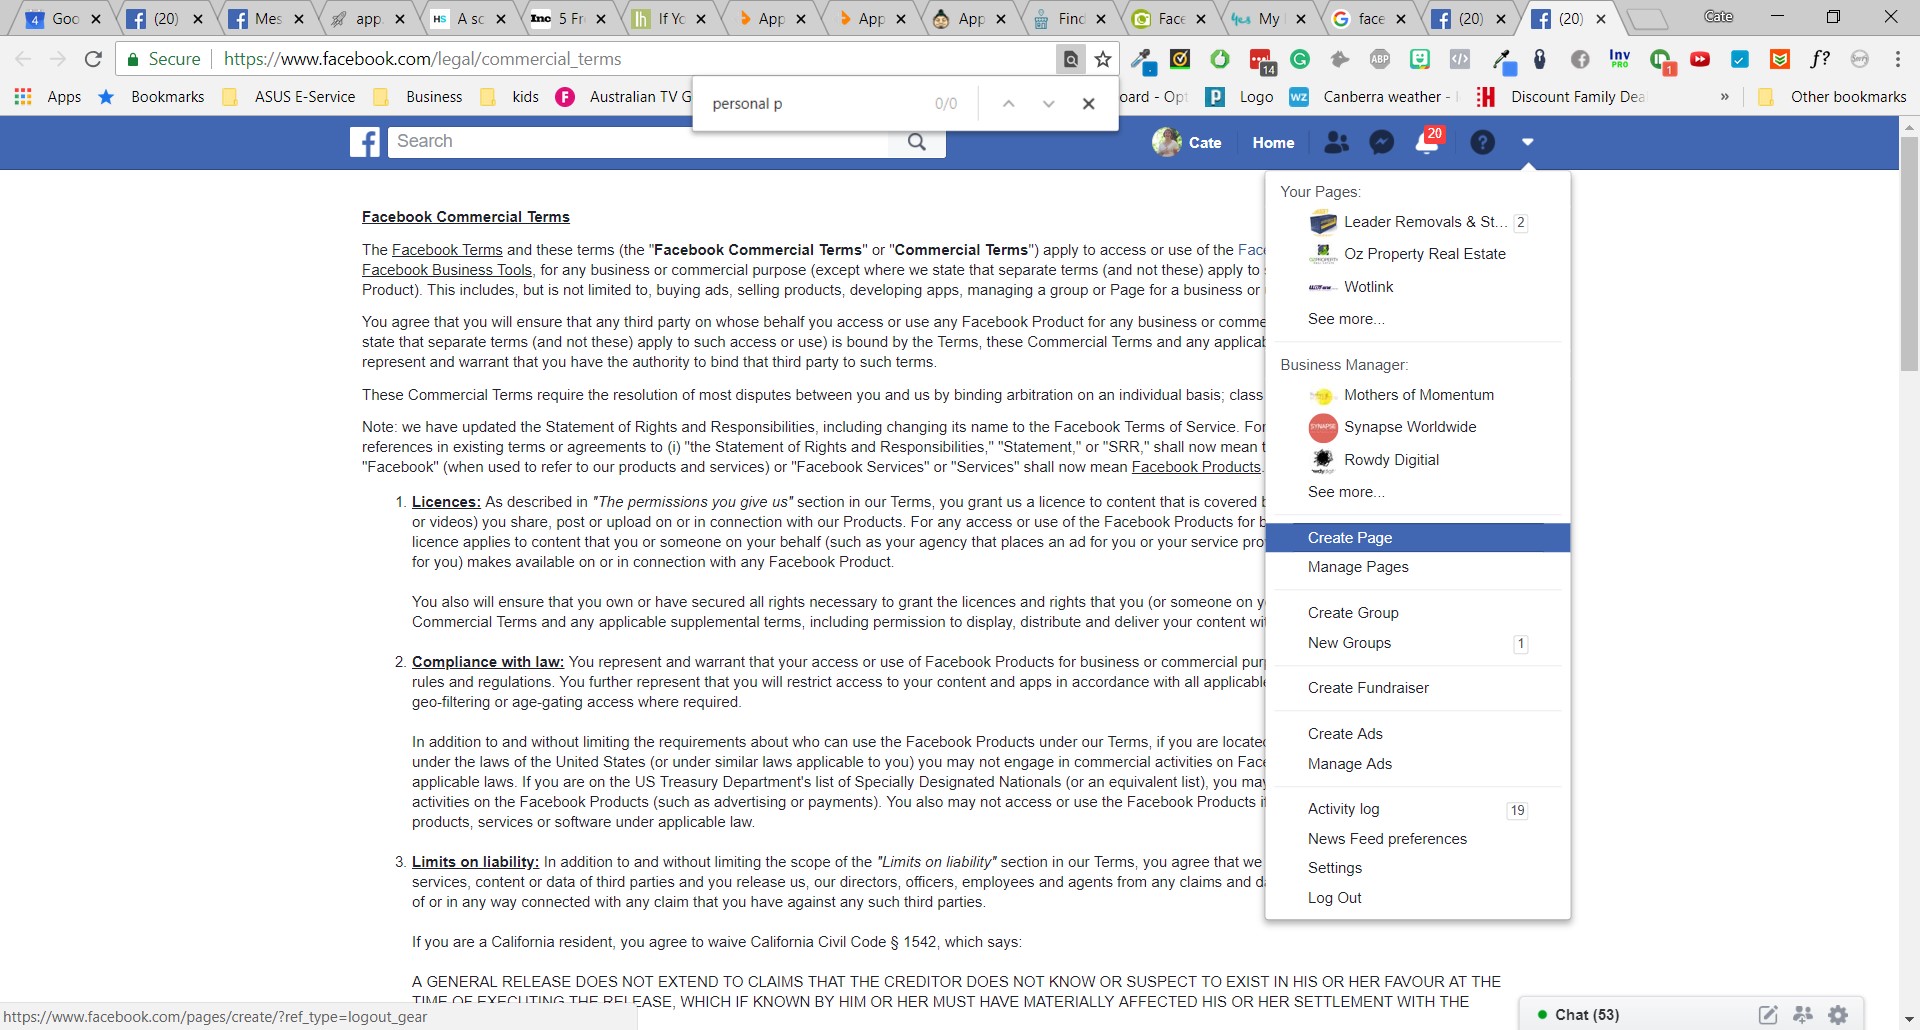
From there you’ll have the choice of creating a business or brand page, or a community or public figure page. Select a business page.
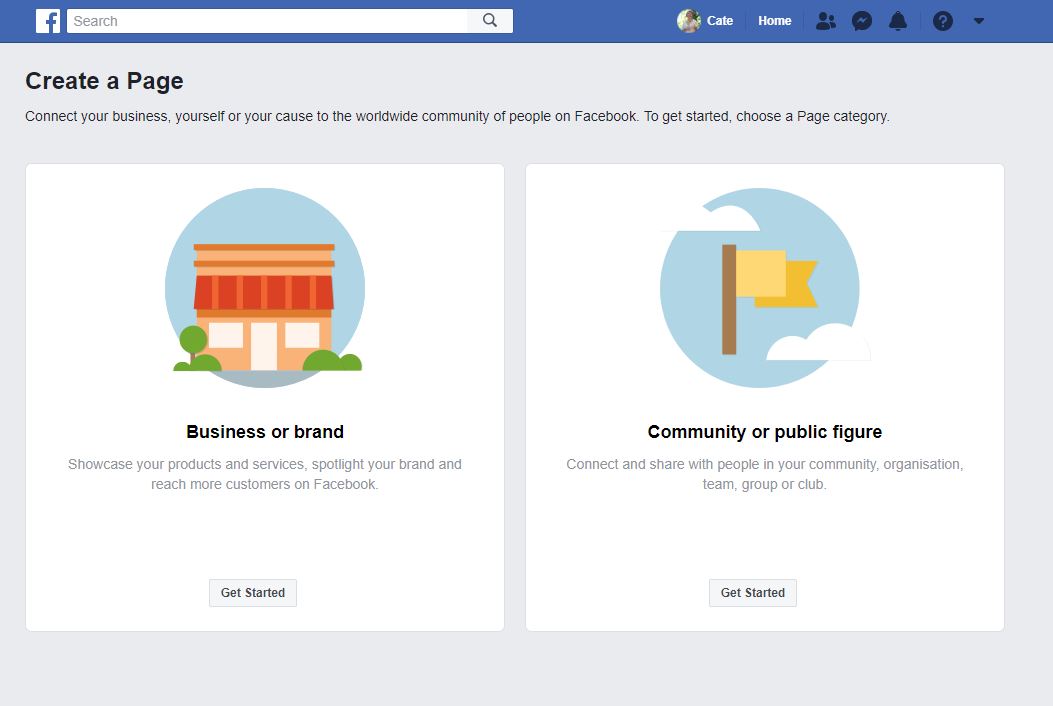
Once you click ‘Get Started’ you’ll walk through the process. Just complete all the boxes and don’t worry, you can change almost all of this information later.
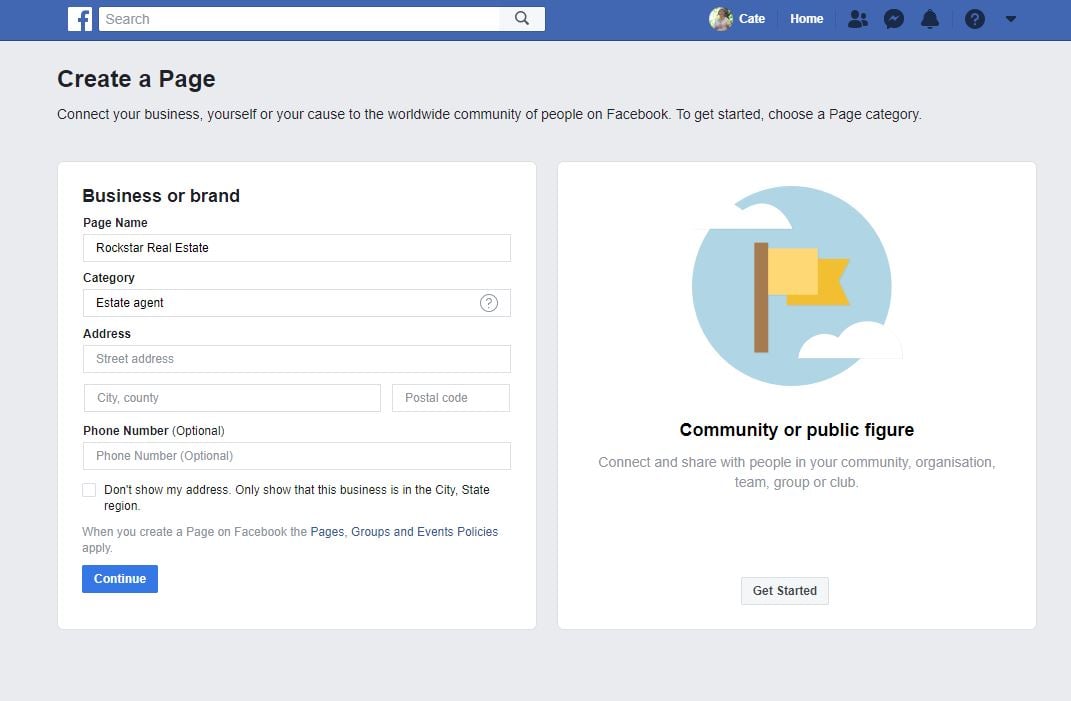
Now you should have a page but it’s won’t be published and available for people to view until you make that change. First, you need to finish setting up the page.
Set Up Your Page like a Pro
Be sure to complete your page information with lots of links, keywords, and useful information.
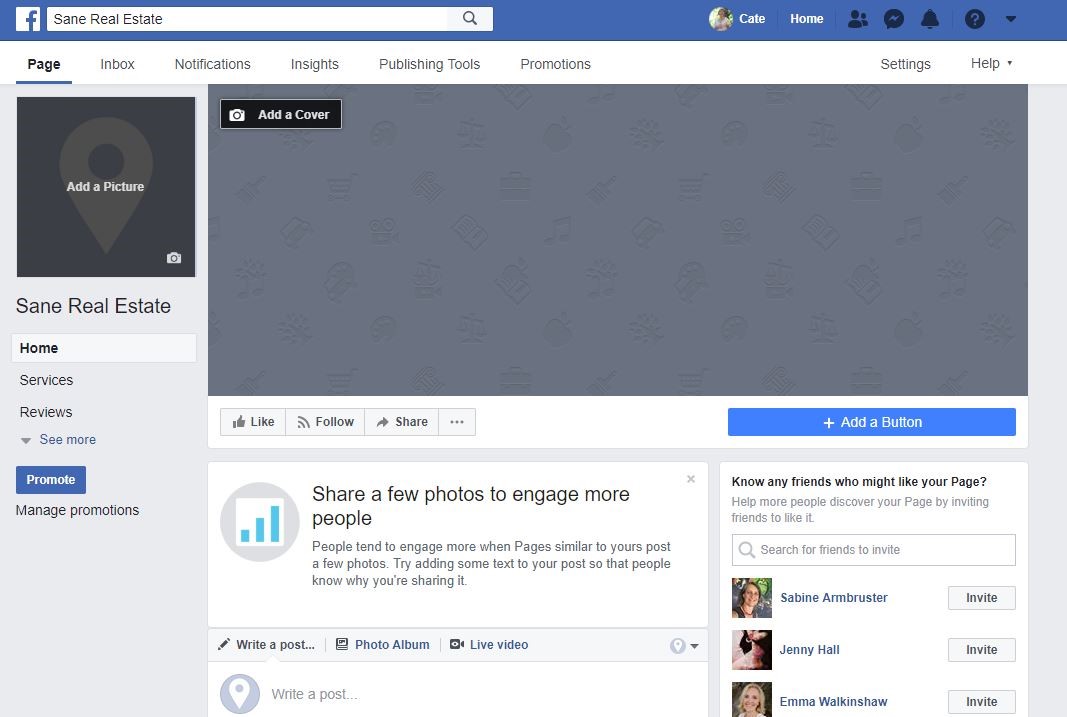
You’ll notice there are no images so next, we want to add a cover image and a profile image. The big mistake we see people making here is that they go for something fancy, rather than having consistent branding.
If you have a logo, you’ll want to use that as your profile image (the smaller, square one). Now the challenge is making your images the right size for Facebook because a lot of people wrestle with this.
Our top tip is to go open a free account on Canva. Yes, it’s another tool to get familiar with but it makes it super easy to create gorgeous images in the right size.
For your Facebook profile image, you can use Canva to create an Etsy Shop Icon as it will work well for Facebook. Choose one of the layouts in Canva, delete the portions you don’t like (everything is changeable – background colour, text, images, everything – the templates are a shortcut).
Download the image and then create a Facebook cover image using Canva too. Download that and return to your Facebook page.
See the little camera icons on the page, on top of the spaces where the images go? Click on the one over the square profile space and upload the image you just created.
Then follow the same process to upload the cover image too.
Aim for Consistency
You want consistent branding because you want to make it easy for people to know they’re in the right place.
When businesses use different images in different places online, it’s confusing for users. They’re not sure if the Facebook page and the website are related.
And when you confuse users, it becomes too difficult for them and they click away.
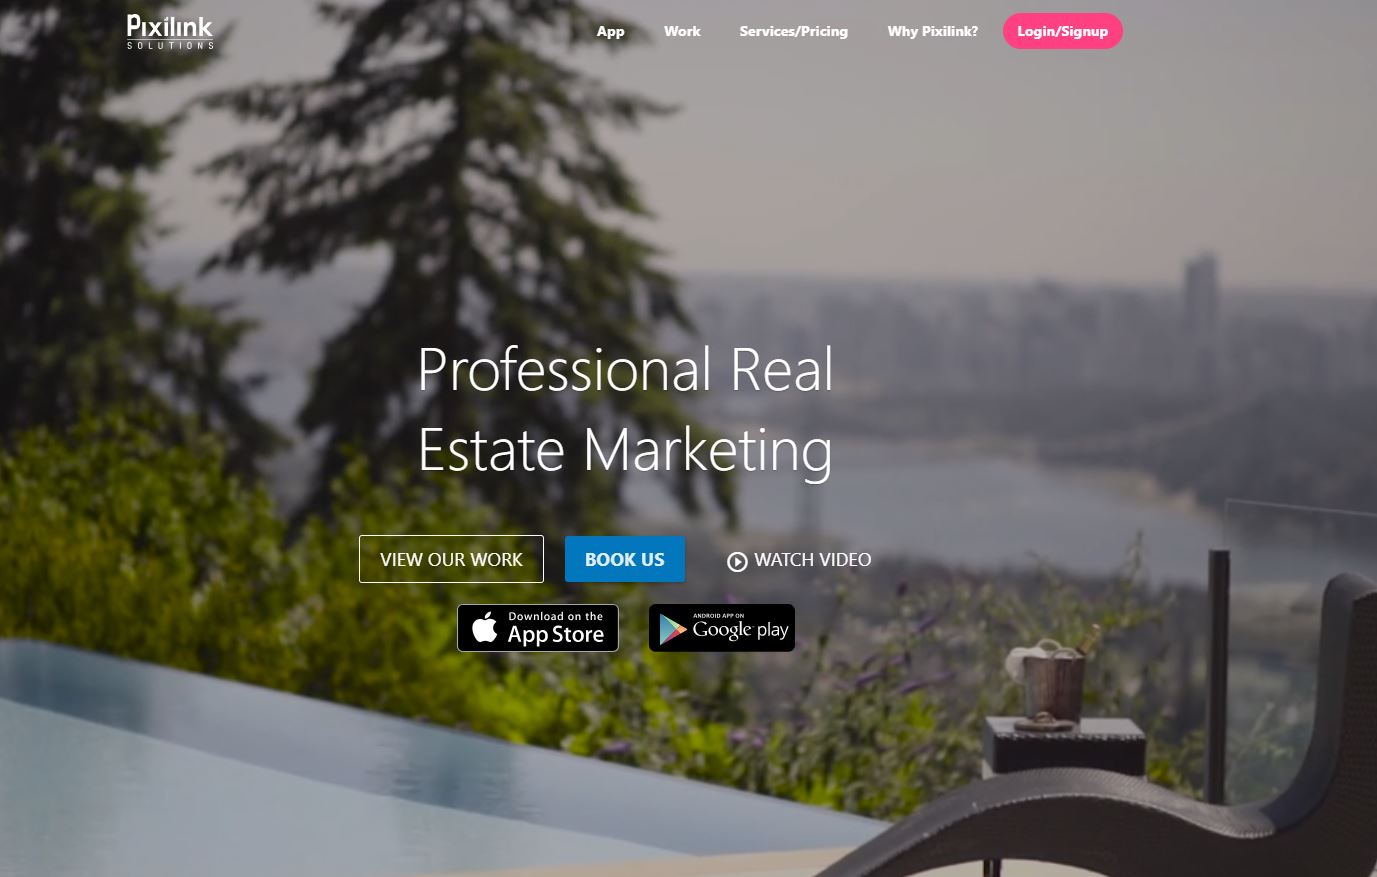
Let’s look at this consistency in action. When people visit our website they see our logo and images.
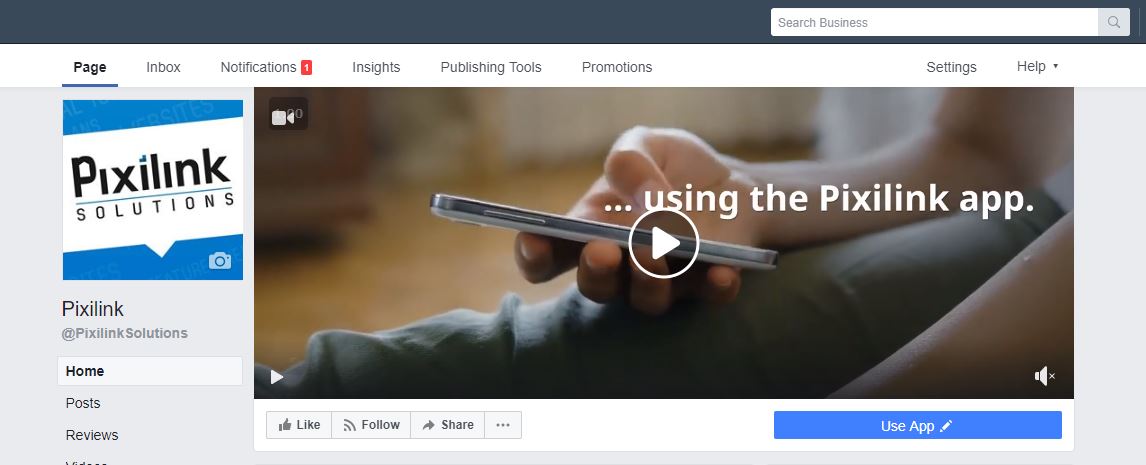
When they visit our Facebook page, they see this:
And when they visit us on Twitter, they see this:
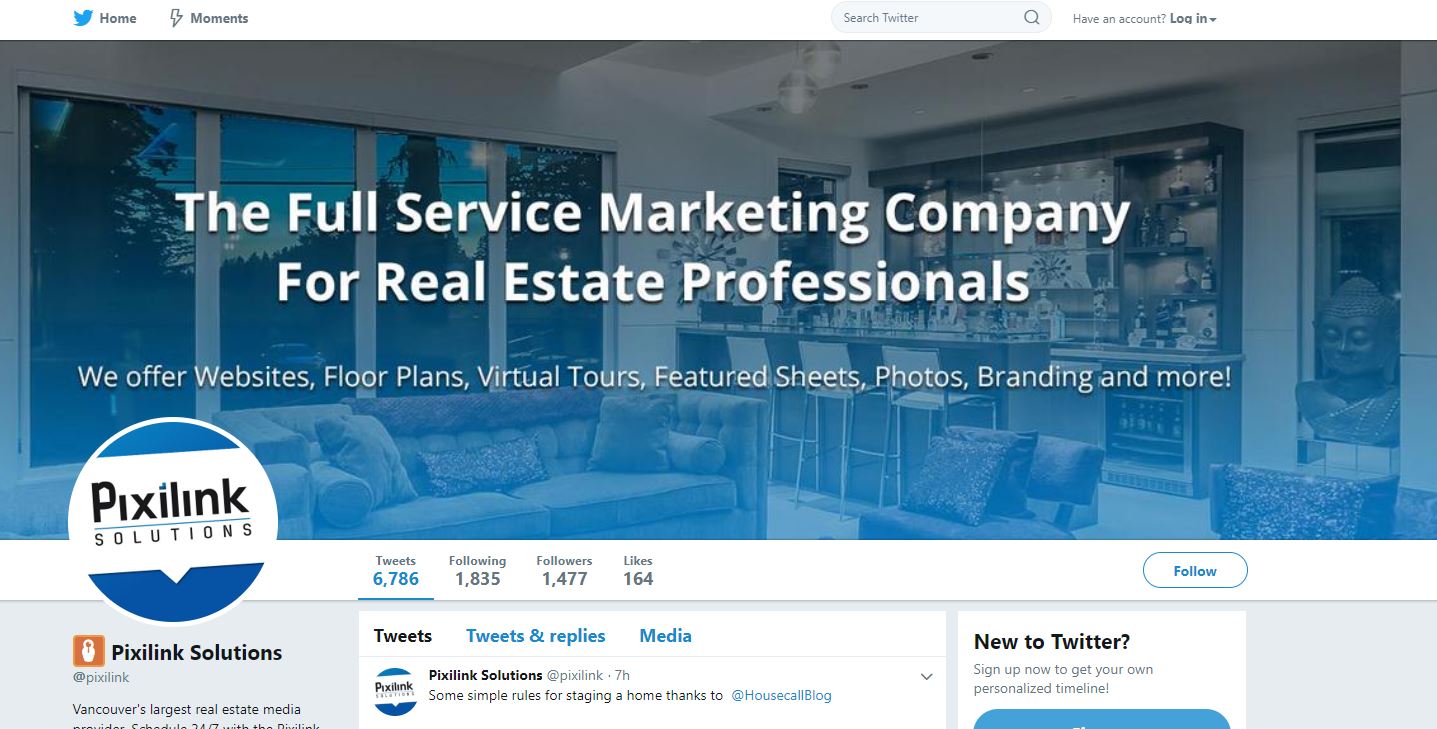
See how the consistent branding makes it easy to know you’re in the right place?
The other reason it’s good to use your logo (or your headshot if you’re working under your name) is that your image comes up every time you comment on your page, or as your page.
Look at this post:
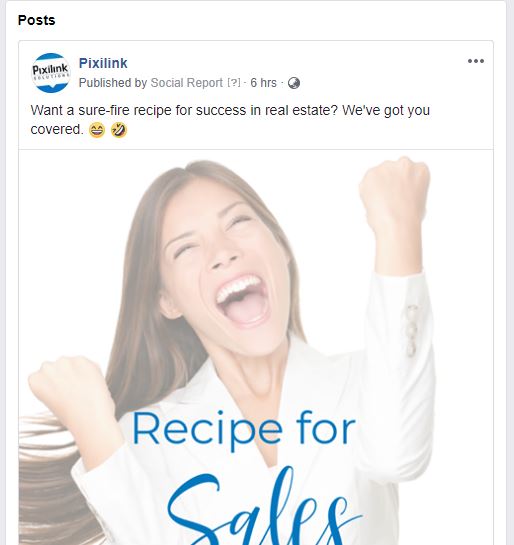
See how you the logo appears at the top? That’s what you want.
Publish Your Page
Once you’re happy with how your page looks, go to Settings at the top of the page and click Edit next to page visibility.
Once you publish the page, you can also change the information in your personal profile to say you work at your business!
If you have a website be sure to add social media icons to your website site too.
But only include the sites where you’re active. You don’t want to direct people to social media locations where you don’t show up regularly.
And don’t fall into the trap of believing you need to be on all the platforms. You don’t.
You need to choose one platform and nail it before you consider whether you have the resources to be on another platform.
Given 79% of Americans use Facebook (the platform with the second closest usage percentage is Instagram, at 32%), Facebook is still the platform with the greatest reach.
Get Social
Right, now you know everything you need to get your social media presence started.
Go through the Action Plan blow and complete all of the steps.
And stay tuned, because we’re next week we’re bringing you, How to Create Content that Can’t Fail, Even If You’re Short on Time and then How to Use Facebook to Generate More Business.
We said it was a complete guide to building your business with Facebook, and we meant it!
Action Plan
Your Action Plan:
- Know your ideal customer avatar. If you don’t have one already, download the female avatar worksheet and download the male avatar worksheet
- Create your Facebook Business Page
- Create a free account in Canva
- Brand your page consistently
- Publish your page